
Blog
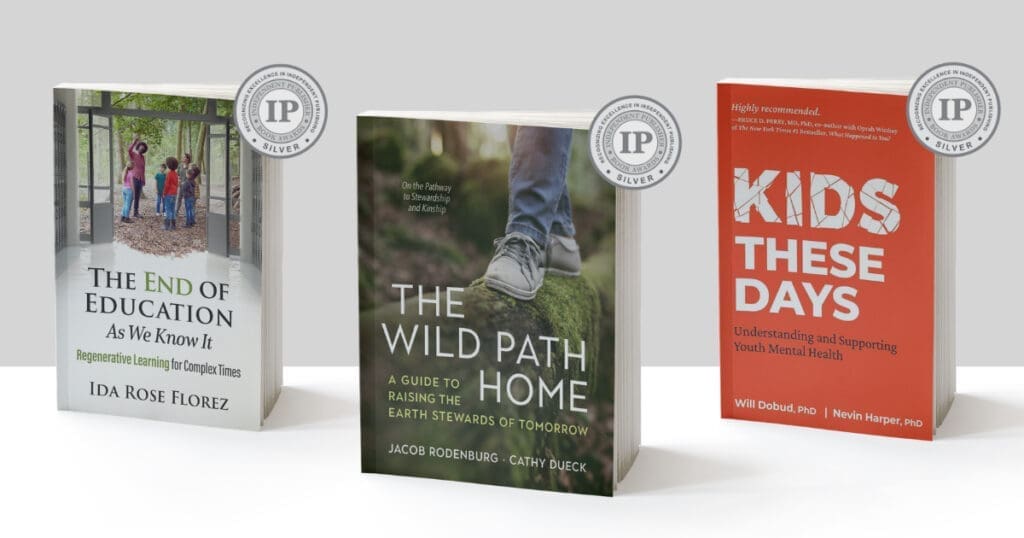
Three Books, Three Silver Medals: New Society Publishers at the 2026 IPPY Awards
We’re proud to celebrate three Silver Award winners in the IPPY Awards, an honor that recognizes the exceptional work being done by independent, university, and self-published authors.
Summertime is Earthen Floor Time!
Summer is ideal for earthen floor projects. Learn how these natural floors dry faster, boost passive solar design, and improve year-round comfort.

Burnout isn’t Just about Work. It’s about Constant Emotional Reactivity
As summer arrives, persistent fatigue may be less about busy schedules and more about the emotional noise created by constantly managing, processing, and reacting to the demands of everyday life.

How Paradigm Shifts Can Transform Conflict Resolution
In this thoughtful excerpt from The Mediator’s Toolkit, Second Edition, mediator and trainer Gerry O’Sullivan explores the idea of paradigms: the internal frameworks that influence how we understand ourselves, others,…
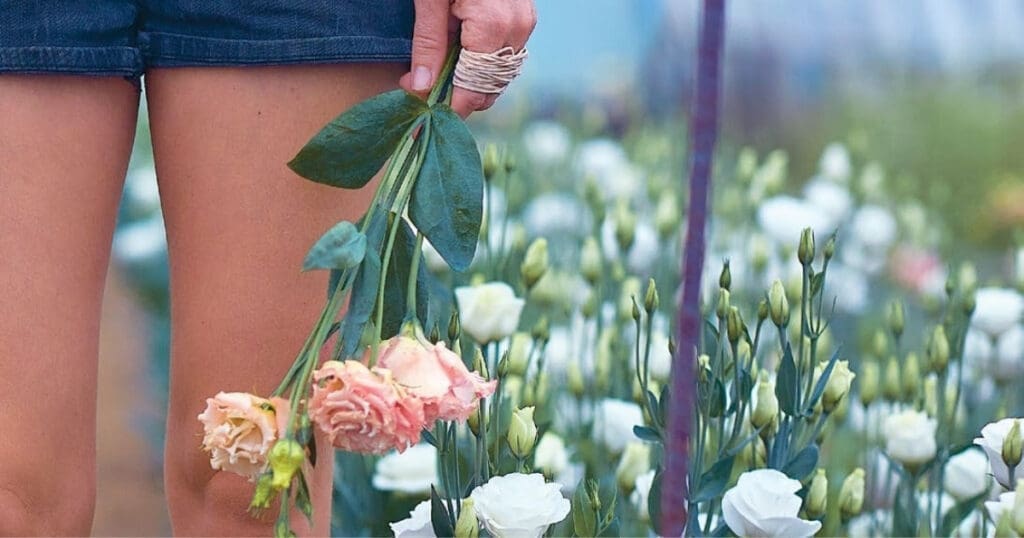
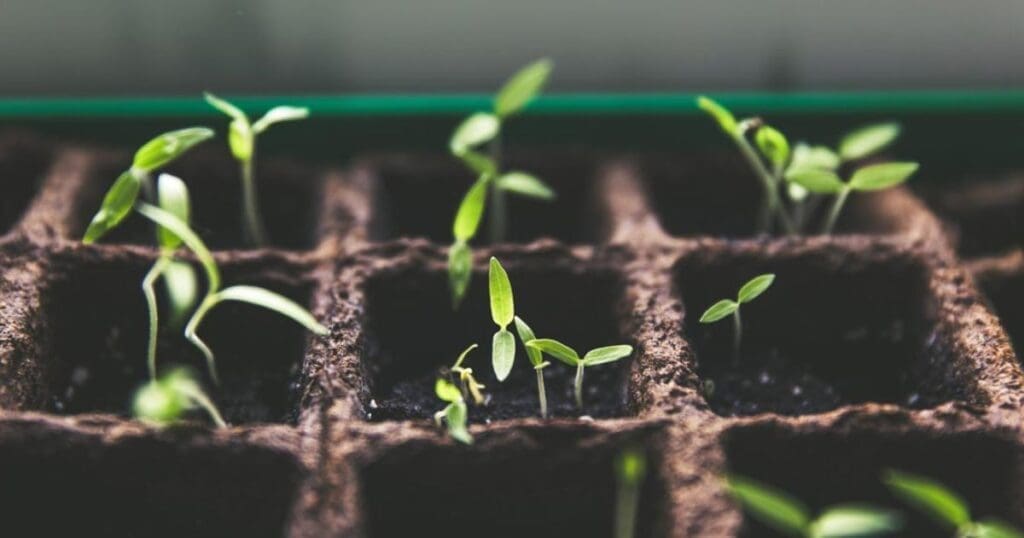
Planning Your Cut Flower Season: The First 3 Steps
In her new book, Floramama, flower farmer Chloé Roy shares the first three essential steps to planning a successful cut flower season. Whether you’re growing for market, subscriptions, or pure…

Three New Society Publishers Titles Win Gold at the 2026 Nautilus Book Awards
We’re proud to celebrate three Gold Award winners in the 2026 Nautilus Book Awards, an honor that recognizes books advancing conscious living, social responsibility, and a more sustainable future.
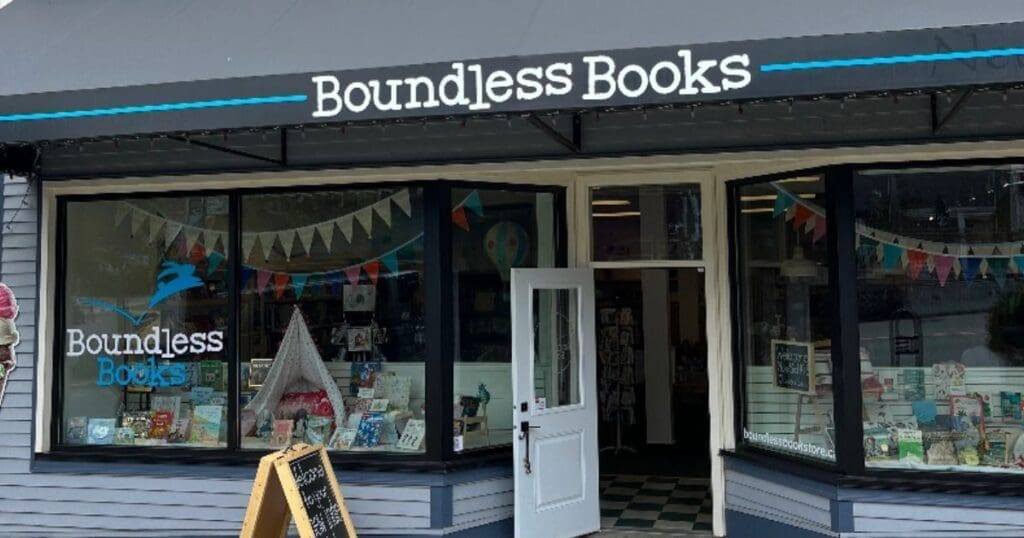
Inside Boundless Books: A Community-Focused Independent Bookstore
Discover Boundless Books, a community-focused independent bookstore in Ladysmith, BC, where thoughtful bookselling, local connection, and a love of reading come together on Vancouver Island.
How Soil Health Affects Plant Growth (and How to Improve It)
Find out what’s wrong with your plant as Robert Pavlis explains four common causes and how improving soil health can bring your garden back to life.
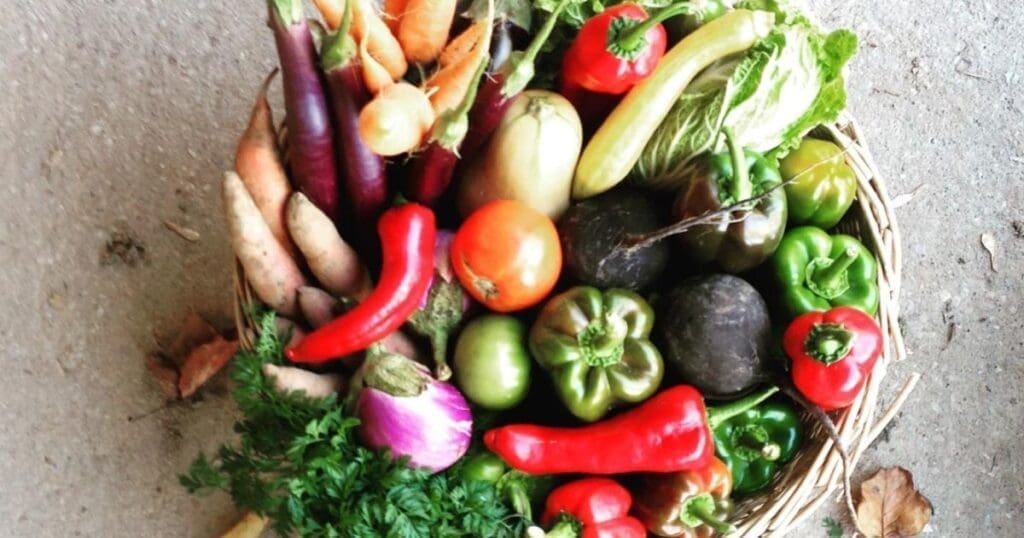
Tips for Gardening in the Pacific Northwest with Linda Gilkeson
Discover expert year-round gardening advice from Pacific Northwest master gardener and author Linda Gilkeson in this exclusive interview celebrating the revised 2nd edition of Backyard Bounty.
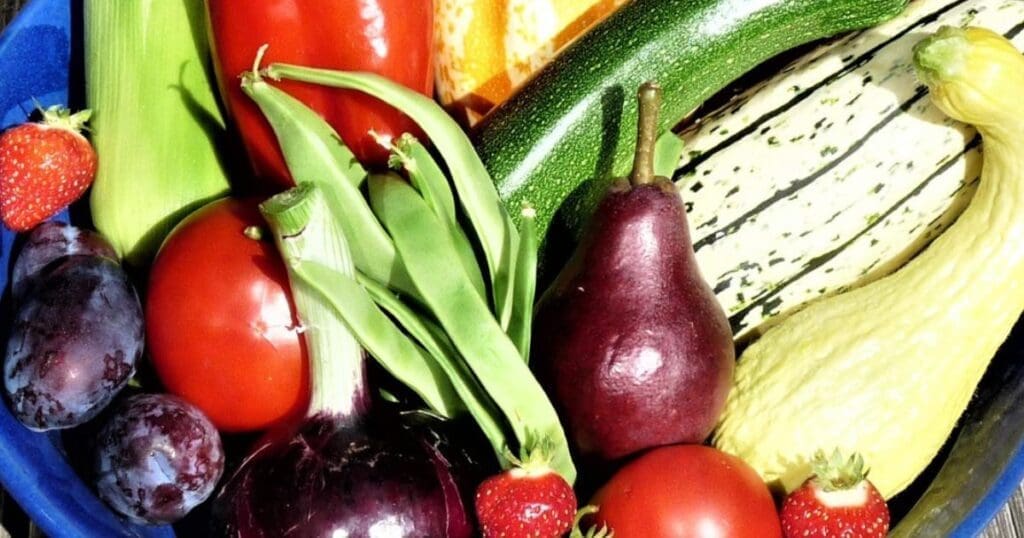
Yard to Table Eating
An excerpt from Your Edible Yard explores how growing your own food and sourcing locally can inspire sustainable, creative cooking.
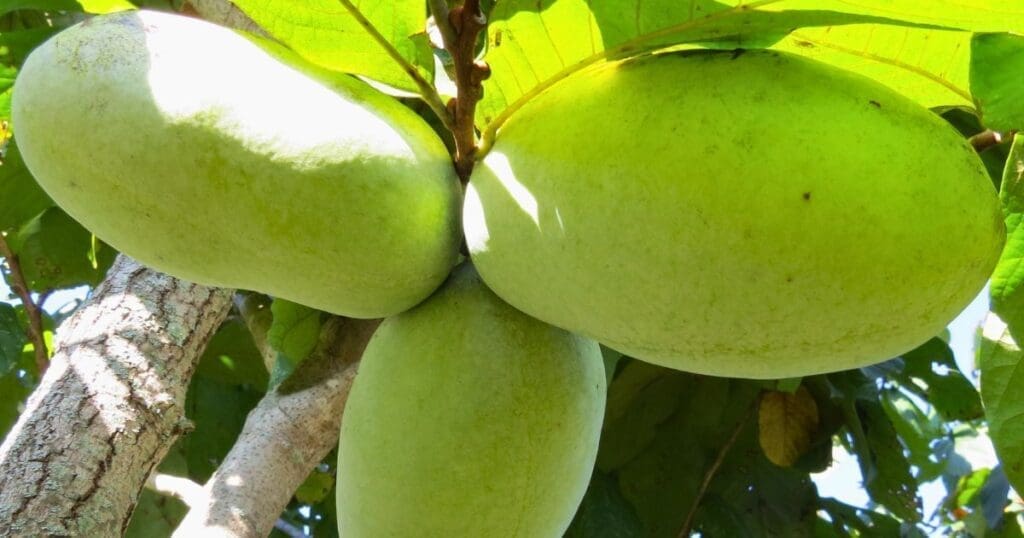
5 Common Pawpaw Myths (And the Truth Behind Them)
Discover the comeback of North America’s pawpaw fruit as Blake Cothron debunks five common myths and reveals the truth behind this once-forgotten favorite.

How to Hold Space as a Workshop Facilitator
In this excerpt from The Art of Creating Workshops for Women, discover how authentic presence, trust, and openness—not control—define meaningful workshop facilitation and create space for real connection.
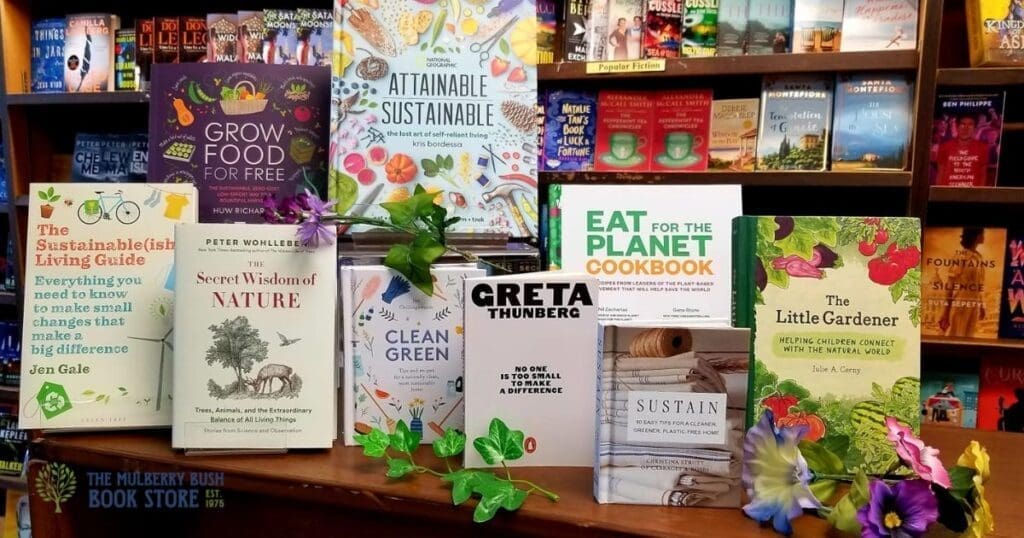
Spotlight on Mulberry Bush Bookstore: A Coastal Community Hub
In Qualicum Beach, Mulberry Bush Bookstore has spent decades bringing readers together, fostering creativity, connection, and a lasting love of books on Vancouver Island

The 5 Rhythms of Meaningful Workshop Facilitation
Discover the five workshop rhythms that create engaging and transformational group experiences. Learn how to design workshops that foster learning, connection, expression, and lasting integration.