In this excerpt from The Art of Creating Workshops for Women, discover how authentic presence, trust, and openness—not control—define meaningful workshop facilitation and create space for real connection.
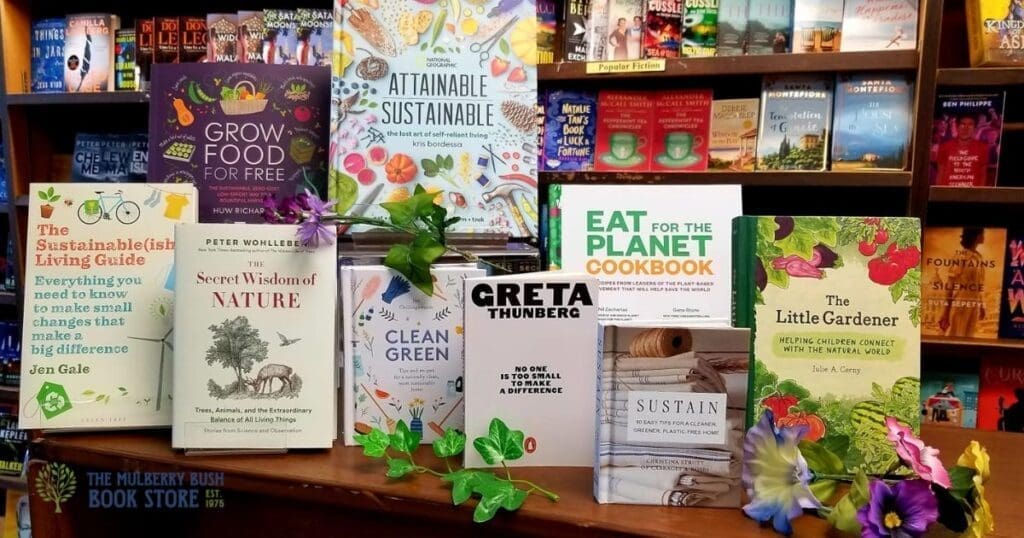
In Qualicum Beach, Mulberry Bush Bookstore has spent decades bringing readers together, fostering creativity, connection, and a lasting love of books on Vancouver Island
Discover the five workshop rhythms that create engaging and transformational group experiences. Learn how to design workshops that foster learning, connection, expression, and lasting integration.
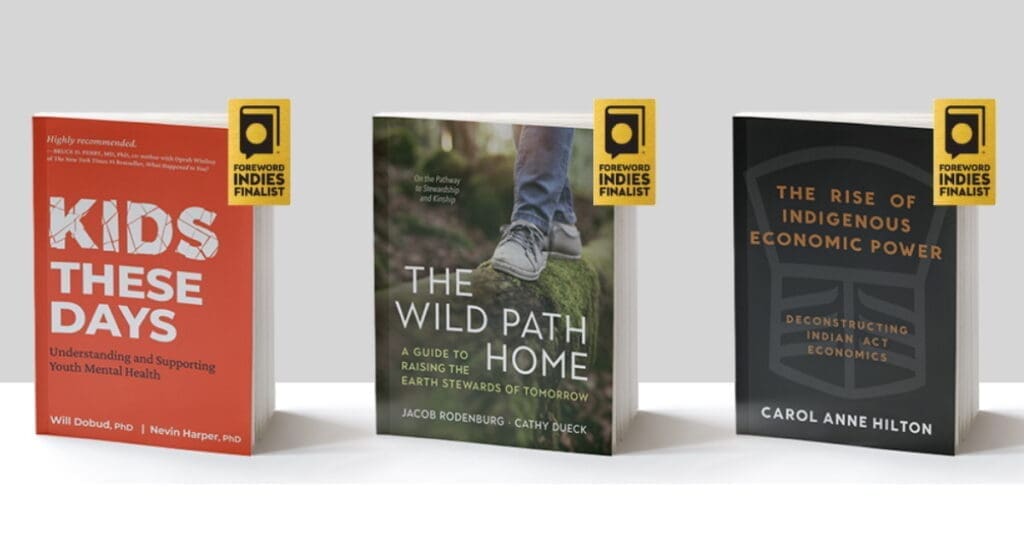
New Society Publishers celebrates three titles—Kids These Days, The Rise of Indigenous Economic Power, and The Wild Path Home—as finalists in the 2025 Foreword INDIES Awards, highlighting impactful voices in…
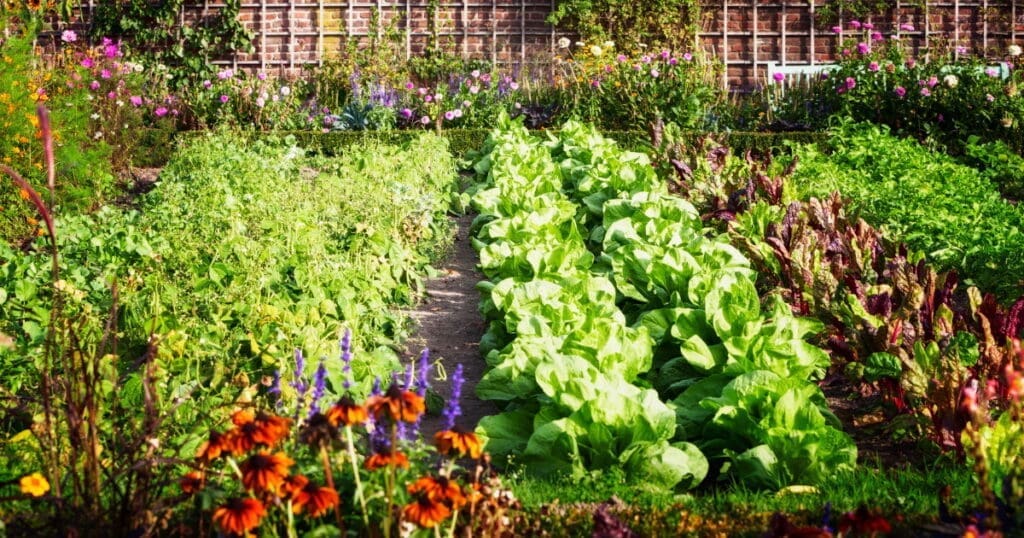
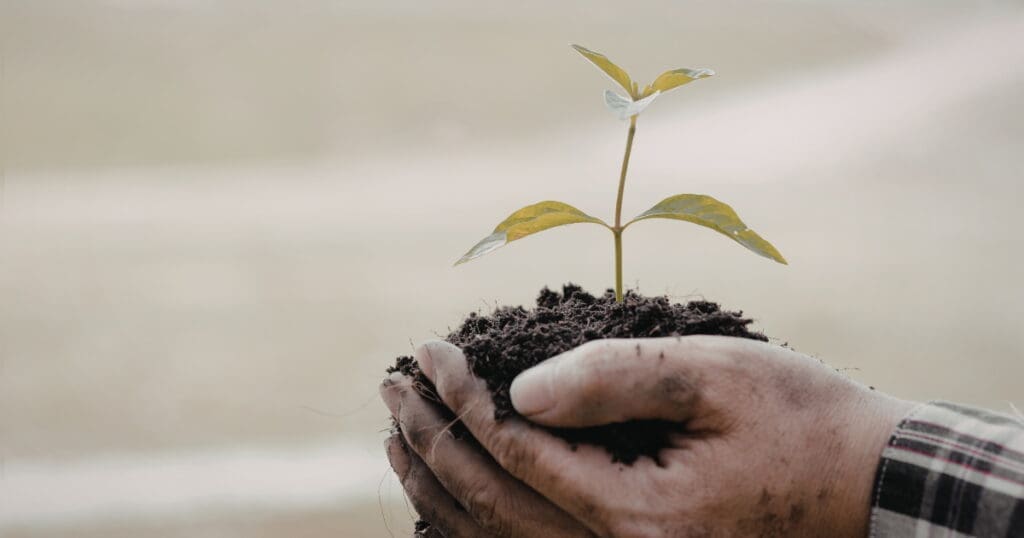
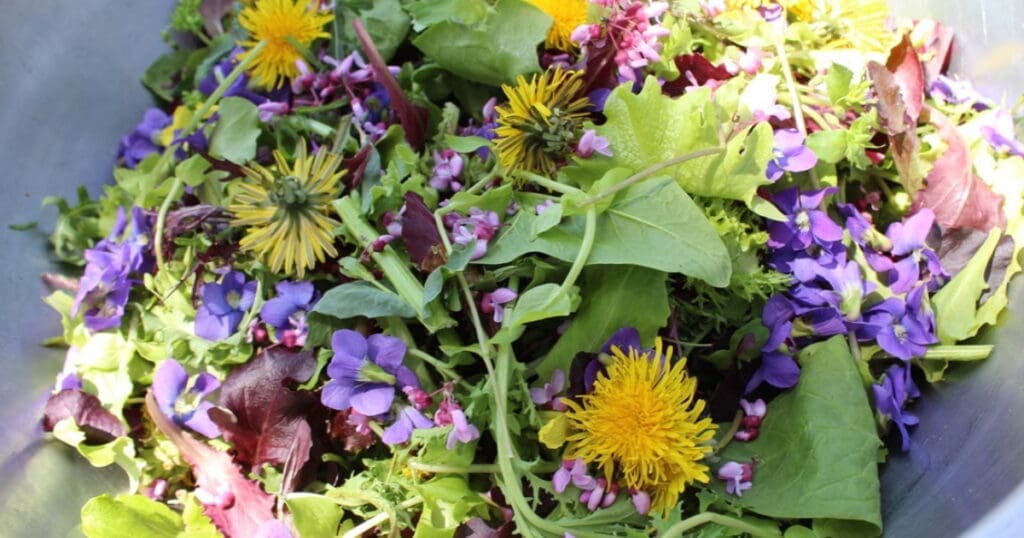
Plan your garden with purpose this season. In this excerpt from Jean-Martin Fortier’s The Well-Planned Vegetable Garden, learn five simple steps to grow a productive, resilient harvest.
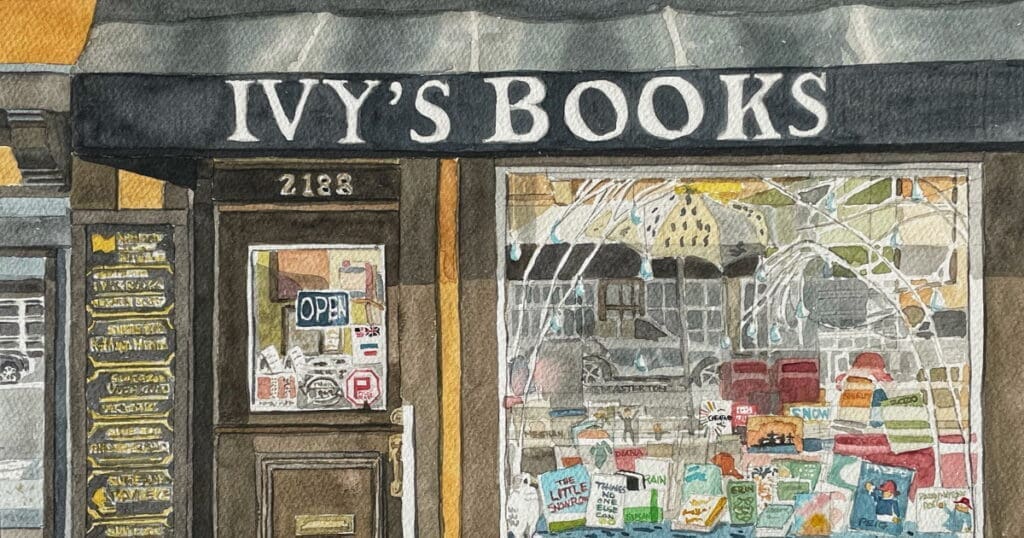
In this edition of our bookstore spotlight series, we’re celebrating a shop that has long served as a cultural anchor for readers, writers, and community alike. Welcome to Ivy’s Bookshop.
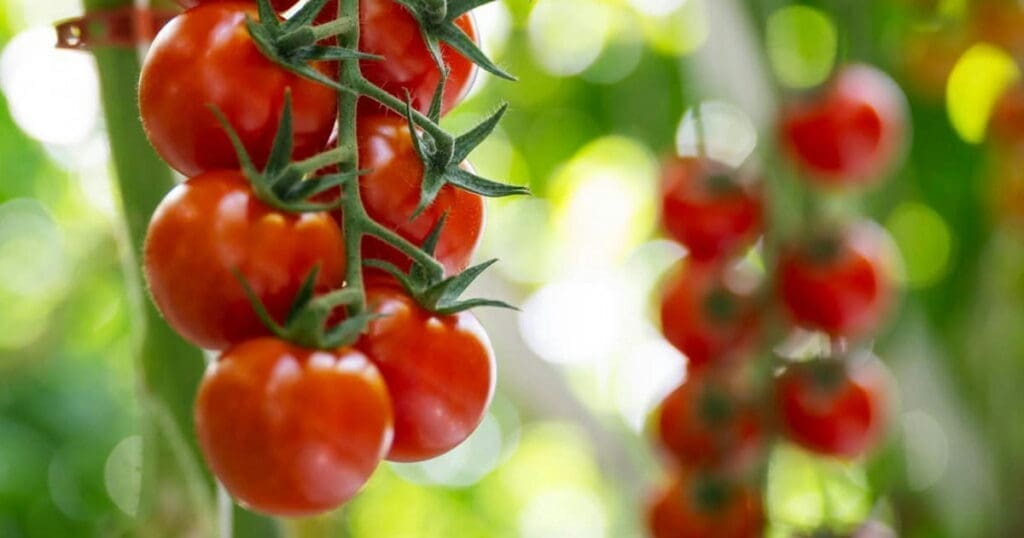
Fruiting vegetables are key to healthy diets and gardens. In this excerpt from Jean-Martin Fortier’s Fruiting Vegetables, discover how to grow them more sustainably.
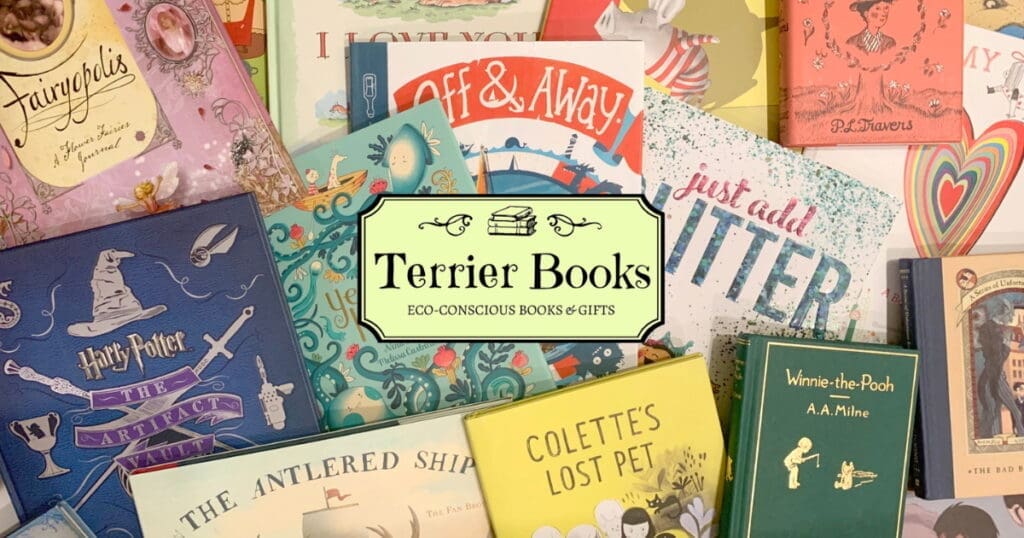
Our newest bookstore spotlight, features Terrier Books, a new independent bookstore on Vancouver Island dedicated to community, sustainability, justice, and care for readers.
Plan before you plant. Discover how the right harvest tools, inspired by Vegetable Garden Tools by Jean-Martin Fortier, make backyard gardening easier, more efficient, and more rewarding.
Amid political violence and uncertainty, this reflection by New Society Publishers’ Publisher Emeritus invites a humane, care-rooted response that holds anxiety, grief, and open questions.
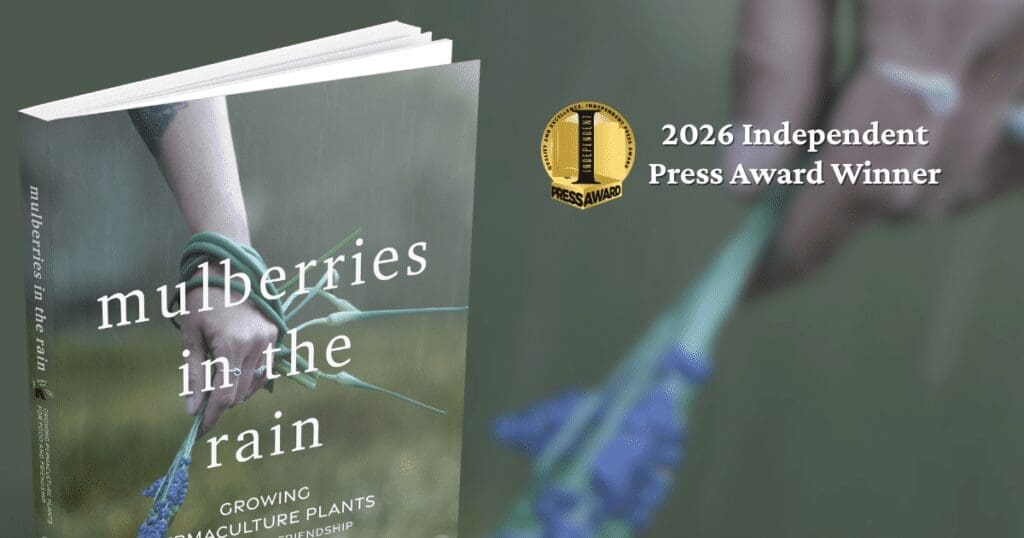
We are thrilled to announce that Mulberries in the Rain has won a 2026 Independent Press Award. Mulberries explores how growing food can also grow connection.
Turn your yard into a beautiful, productive landscape with design ideas from Your Edible Yard—perfect inspiration for planning your garden before spring.
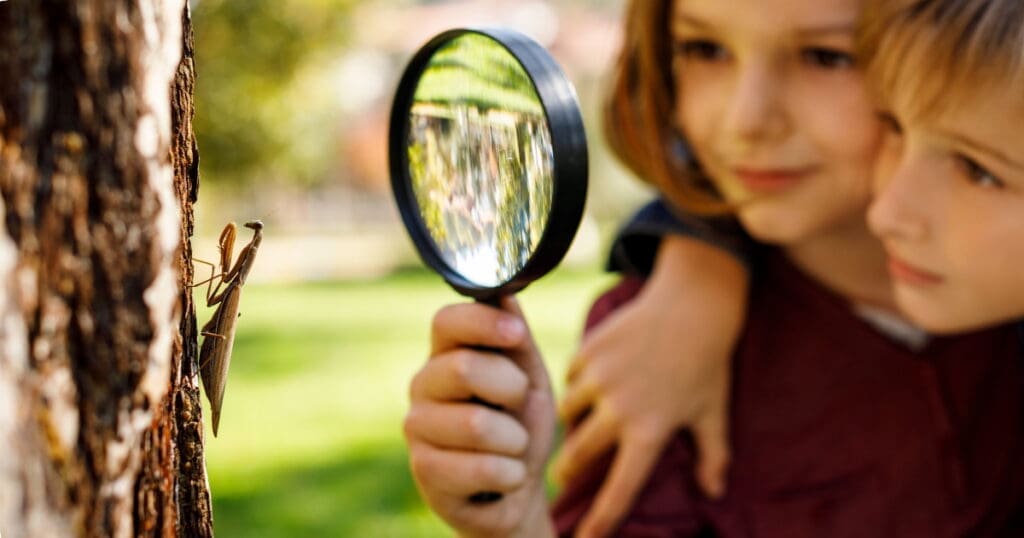
Camp Kawartha’s Pathway to Stewardship and Kinship earned a United Nations award for excellence in education for sustainable development. Read the press release.